


As of Vertica 9.0.x, you can operate your database in Eon Mode Beta. Doing this separates the computational processes from the storage layer of your database, enabling rapid scaling of resources to accommodate variable workloads. This post describes how you can provision a Vertica Eon Mode database on Amazon Web Services (AWS).
Here’s a basic overview of the steps of how to do so using Management Console:
1. Understand your depot and shard sizing. The depot is a cache-like component of each node that maintains a local copy of data associated with a shard that a node subscribes to. Shards are segments of the data in your communal storage location.
2. Deploy a Vertica Management Console with provisioning from AWS Marketplace.
3. From Vertica Management Console with provisioning, a user can create a Vertica database cluster, in both Eon Mode and traditional Enterprise mode, through a step-by-step wizard.
4. Vertica Management Console with provisioning provides cluster and instance level management service, including cluster stop/start/reboot/terminate and instance stop/start/reboot/terminate/add. This step will be discussed in a future post.
5. Vertica Management Console with provisioning provides essential Eon Mode database measuring and monitoring. This step will be discussed in a future post.
Understand your Depot and Shard Sizing
Before you deploy, you should consider how you will size your depot and shards. Generally, the depot is sized to what you expect will be the working set for your database. The shard count is the number of pieces you break the depot into, depending on the size of your cluster. Generally, the number of shards equals the number of nodes. However, for a lot of short queries, consider a smaller number of shards. For elastic out crunch, consider more shards. For more information, see Best Practices for Selecting Shards, Nodes, and Depots in Vertica Eon Mode Beta.Understand your Depot and Shard Sizing
To do this, head to the AWS Marketplace and search for Vertica. Click on the Vertica Management Console with Provisioning option, with the desired Linux flavor, CentOS or Redhat. This will be the OS that your new Vertica Eon Mode database resides on.
Then, browse the listing description, and click Continue to Subscribe.

Next, select the latest release, the right AWS region, and deployment option. There are two deployment options:
• Vertica MC in New VPC, which creates a new VPC and subnet for the Vertica MC and any future Vertica clusters you provision.
• Vertica MC in Existing VPC, in which you can drop the Vertica MC in an existing VPC/Subnet you have prepared. Ensure that the VPC/Subnet is suitable for access and expansion.
Then click Launch with CloudFormation Console.

You’ll be redirected to the CloudFormation Console and click Next to launch the Vertica MC with provisioning CFT.

You’ll enter the following details and click Next to proceed:
• Vertica MC login and password
• EC2 instance type:
o c4.large: 2 vCPU, 3.75G, good for a development environment
o c4.xlarge: 4 vCPU, 7.5G, good for a production environment
• Authentication method:
o IAM Role Instance Profile: all provision and cluster/instance management service will use this IAM role permission. No user AWS access key is required. Verify that the IAM role has access to the buckets you want to load data from.
o AWS Access Keys
• User key pair and CIDR range for MC instance access
• Availability zone for future best access or DR plan

Click Yes to accept the terms and conditions. Click Next to proceed.
CFT tags the instance with the name Vertica Management Console. You can optionally enter additional tags to the instance to help categorize the instance. Click Next to continue.
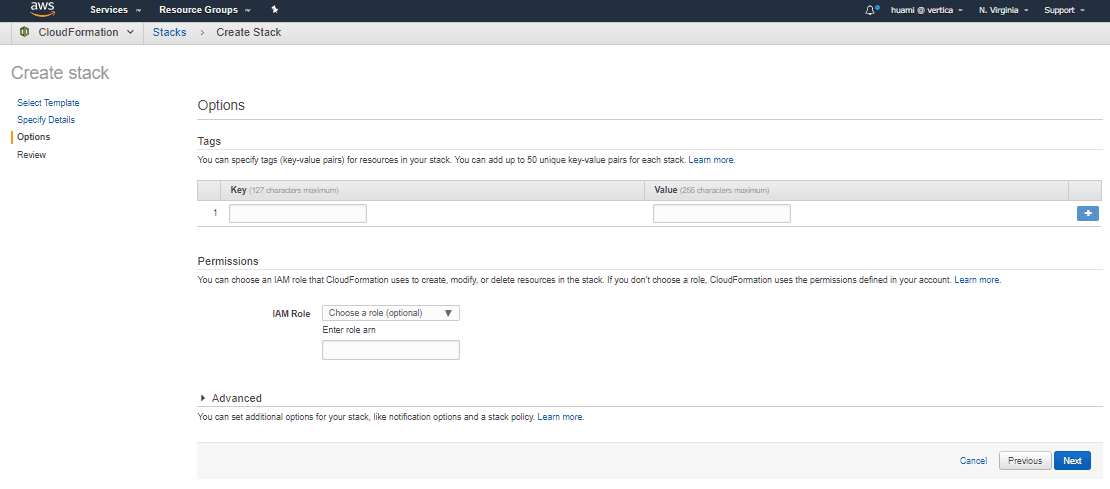
Then, check the I acknowledge that AWS CloudFormation might create IAM resources option and click Create to deploy the Vertica MC on AWS.

Once the CFT stack is complete, you can find all important information on the Outputs tab. Click the Management Console URL to log on to the newly deployed Vertica Management Console with provisioning on AWS.

MC Provisioning: Create Vertica Eon Mode Database
To complete this step, login to Vertica MC. From the home page, click Create a new Vertica Database Cluster. You’ll have the option to create both Eon Mode and Enterprise Mode databases.
Start the Eon Mode database wizard. If you chose to use the AWS access key authentication method, you must input the AWS access key credentials. Then, fill in the following information:
• AWS Region
• AWS Availability Zone
• AWS Key Pair: the access key pair you used for instance access to the new Eon Mode database nodes. • CIDR Range: the range of IPs to access the new Eon Mode database for both JDBC and SSH connection. This is enforced through AWS security group.

Click Next. Then, enter your Vertica database name, user name, and password. When considering your database size and license node, if you are using 1-3 nodes, you can deploy the database using the embedded Community license. For more than three nodes, you must upload a Vertica license file.
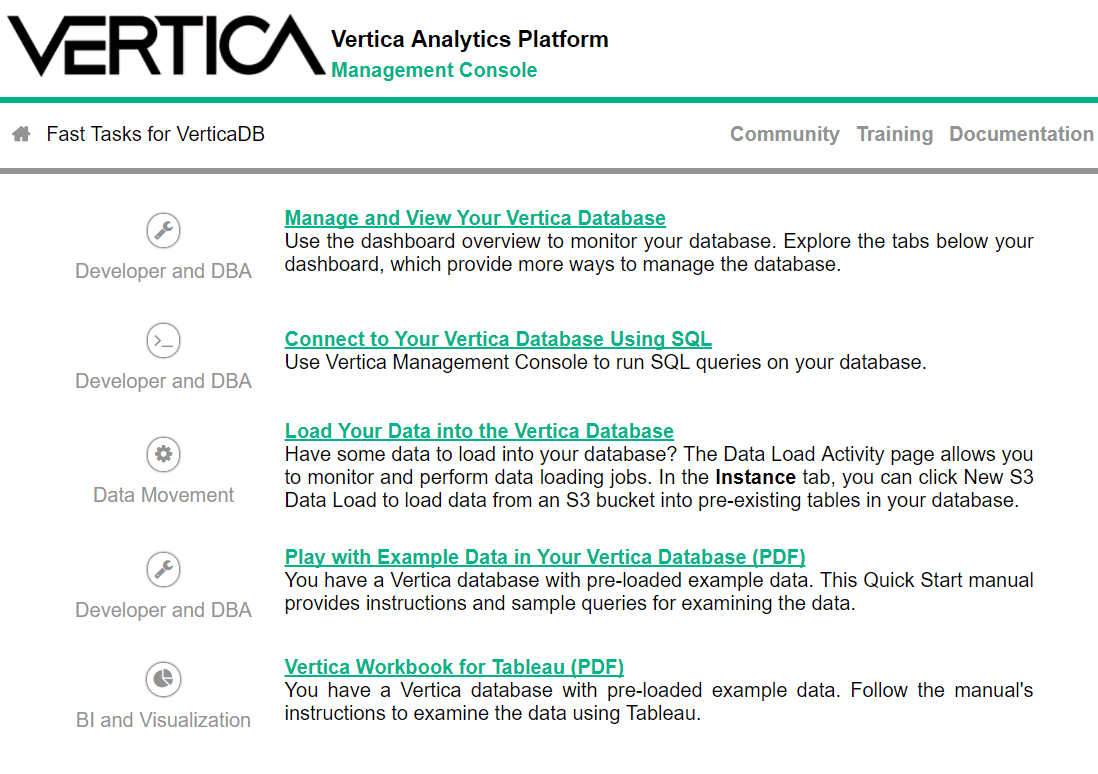
Optionally check the box to load example test data. There is a test data package you can load into the new Eon Mode database. If you check this option, MC shows the corresponding resource links on the fast tasks when the provision completes.

Click Next. Then, enter the following information:
• EC2 Instance Type: select the desired EC2 instance for the Vertica node.
• Catalog and Depot Path: defaults to /scratch_b.
• Data Segmentation Shards: defaults to node size.
• Communal Location Url: this S3 bucket location is created in the same region as MC and is owned by the user.
We strongly recommend you tag EC2 instances by checking the box. Doing so allows you to add up to 20 tags to categorize your instances. Utilize the tags with the AWS cost analyzer tool. You can also use tags to indicate items such as the instance owner and the cost structure.

After you check the box, MC displays supported instances based on your region:

How do I choose an instance?
For Eon Mode, there are many EC2 instance types available. With Eon Mode, you benefit from data durability through automatic data S3 uploading. With this, you can take advantage of certain EC2 instance types with an instance store, like c3/i2, which has a very high IO SSD pre-configured by AWS. For more information about the EC2 instance vCPU and instance store information, see the AWS documentation.Vertica also supports d2 instances, which have a number of vast amounts of HDD volumes attached to every instance.
You can create an Eon Mode database with the instance type c4/m4/r4/r3. The Eon provision wizard will ask you to define the size of a single volume. A total of 8 of that size volume will be raided and attached to the instance. Using EBS volumes in Eon Mode has the advantage of data durability through frequent cluster/instance stop and start, if you need the service for a short time periodically. Based on the Vertica database workload, this following chart can help you determine the best instance to suit your needs:

*In this chart:
• $ indicates less than $1.50/instance/hour
• $$ indicates between $1.50 and $3.00/instance/hour
• $$$ indicates above $3.00/instance/hour
C4 instances are optimized for compute-intensive workloads and deliver cost-effective high performance at a low price per compute ratio.
C3 instances are optimized for compute-intensive workloads and deliver cost-effective high performance with fast, local SS#-based storage, and are great for high performance computing, batch processing, and 3D rendering and simulations. (C3 instances are considered legacy instances; AWS will not deploy these instances in their newer data centers.)
M4 instances provide a balance of compute, memory, and network resources. These are a good choice for many applications. R4 instances are optimized for memory-intensive applications and offer a better price per GiB of RAM than R3 instances.
R3 instances are optimized for memory-intensive applications and offer lower price per GiB of RAM. (R3 instances are considered legacy instances; AWS will not deploy these instances in their newer data centers.) I3 instances provide Non-Volatile Memory Express (NVMe) SSD-backed Instance storage optimized for low latency, very high random I/O performance, high sequential read throughput, and provide high IOPS at a low cost.
I2 instances provide solid state drives (SSD) Instance storage optimized for low latency, high random I/O performance, high sequential read throughput and provide high IOPS at a low cost.
D2 instances feature up to 48 TB of HDD-based local storage, deliver high disk throughput, and offer the lowest price per disk throughput performance on Amazon EC2.
For more information, see this site. Note that this site is not affiliated with AWS or Vertica.
Note: Instance i3 is scheduled to support in future releases ONLY for AWS Linux. You can take advantage of the fast NVMe volumes, and a lower cost EC2 price, compared to i2 instances. c3 and r3 instances are not available to all regions.
After you determine your EC2 instance, click Next. Review the summary page and accept the terms and conditions. Click Create to proceed.

MC will show the status and detail the working progress. If there are any failures during the provisioning tasks, MC will rollback and remove all the resources created in AWS.

After the cluster is built, click Get Started.

On the fast tasks page, there are many direct links and resources to help new users quickly do some initial tasks and get started with Vertica:
MC Provisioning: Manage Your Vertica Eon Mode Database
On the MC home page, a user can find the newly created Eon Mode database. Click View Your Infrastructure to view all the clusters and databases managed by Vertica MC.
To enter the Vertica AWS cluster/instance management service page, click on the big button in the Clusters window:

Cluster management actions include start, stop, terminate and reboot. Instance management actions include start, stop, add, reboot, and terminate.

Creating a Database Using admintools
If you already have a Vertica cluster built, you can use admintools to create a database in Eon Mode. Doing so is similar to the way you would create a database in traditional Enterprise mode.1. On the admintools main menu, select View Database Cluster State.
2. Select Create Database.
3. Enter a database name.
4. Enter a password for your database and confirm it.
5. Select a database host.
6. Select Eon Mode for the database mode:

7. Enter a depot pathname and depot size.
8. Enter the communal storage location and the number of shards for your database.
9. Confirm your database definition.
For more information, see Using Eon Mode Beta in the Vertica documentation.
About the Author
Soniya Shah
Information Developer
Currently, a first year law student with a background in science and technology. Experienced technical writer, with specializations in software documentation, big data, blog development, and website development. I build user-centered content to communicate complex and technical information more easily.
I used to work for Vertica full time for about 3 years. I still work at Vertica part time while going to law school.
Update: Soniya is now doing her law internship, and no longer working at Vertica. Good luck, Soniya!