


Vertica Integration with QlikView: Connection Guide
About Vertica Connection Guides
Vertica connection guides provide basic information about setting up connections to Vertica from software that our technology partners create. This document provides guidance using the latest versions of Vertica and QlikView as of April, 2018.
Vertica and QlikView Versions Tested
| Software | Version |
|---|---|
| Partner Client |
QlikView (x64 personal edition running locally) version 12 |
| Desktop Platform |
Windows 7 and 10 |
| Vertica Client |
ODBC 9.00.01 and Windows 64 bit system DSN |
| Vertica Server |
9.0.1 |
| Server Platform | Linux CentOS 7.4 |
QlikView Overview
QlikView Business Discovery is a business intelligence (BI) tool that, once connected to the Vertica Analytics Platform, allows you to access and analyze your data and create visualizations.
Install QlikView
Before downloading and installing QlikView, go to the System Requirements for QlikView page for hardware and software requirements.
Go to the QlikView download page on the Qlik website to download and install the product. To download the distribution file (QlikViewDesktop_x64Setup.exe), complete the registration form. Open QlikViewDesktop_x64Setup.exe and run the installation wizard. When running the wizard, you can change the installation path if you want.
Download and Install the Vertica Client Drivers
QlikView doesn't come with a specific Vertica connector so you use its ODBC data source option to connect. To use the QlikView data source, you need to download and install Vertica's ODBC driver, as follows:
- Go to the Vertica Client Drivers page.
- Download the version of the Vertica client package that is compatible with the architecture of your operating system and Vertica server version.
- Based on the client driver package you downloaded, follow the installation instructions in the Vertica documentation.
Configure an ODBC Data Source
For information on creating and configuring an ODBC data source, see Setting Up an ODBC DSN.
Disabling the QlikView Wizard
The QlikView wizard does not work with Vertica so you must disable it, as follows:
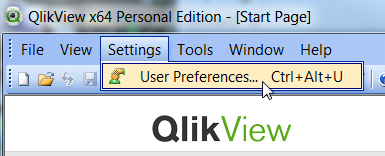
- From the QlikView start page, choose Settings > User Preferences:
- From the General tab, deselect the Show “Getting Started Wizard” when creating new document checkbox:
- Click OK.
Connect QlikView to Vertica
Connect QlikView to the Vertica database as follows:
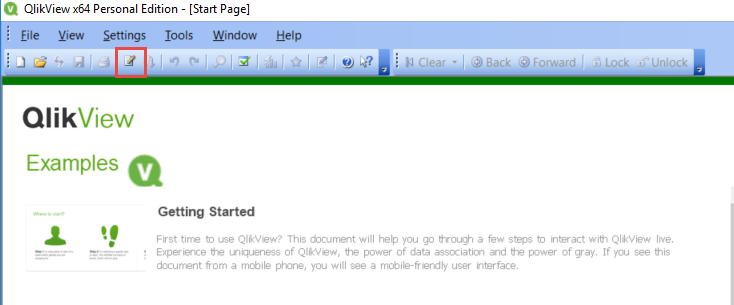
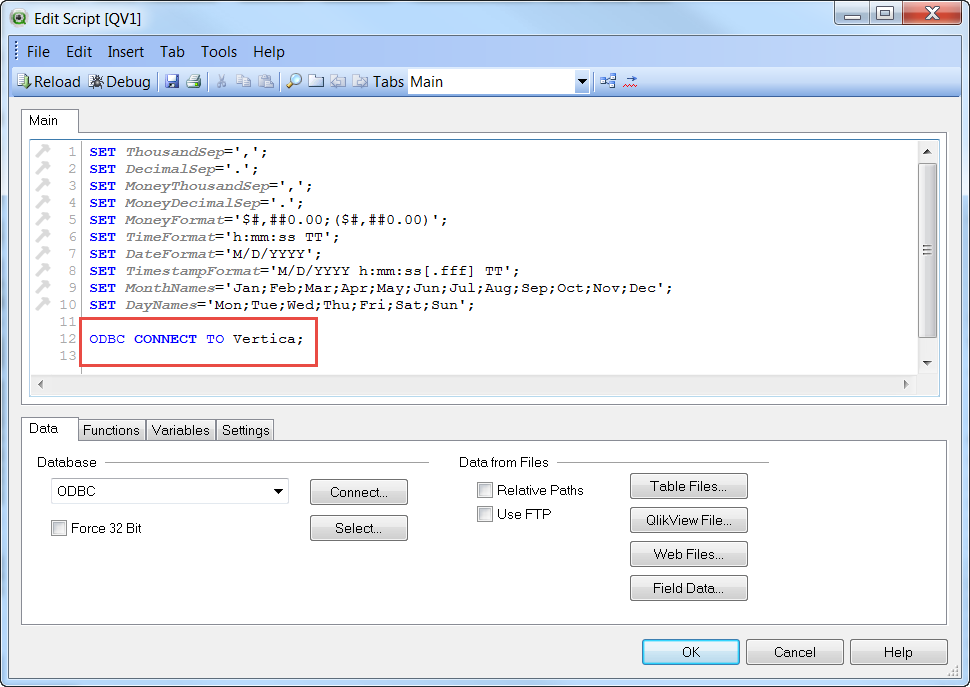
- From the QlikView Start Page, select Edit Script:
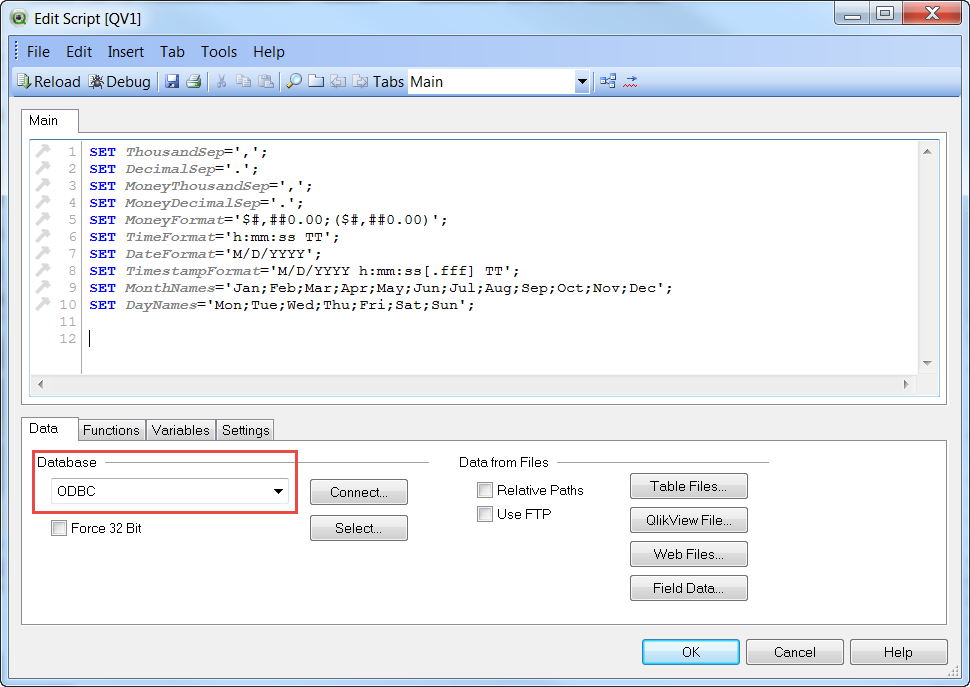
- In the Edit Script dialog box, check the Database dropdown field to ensure that ODBC is selected:
- Click Connect. The Connect to Data Source dialog box appears. (The example uses the Vertica data source you created earlier.)
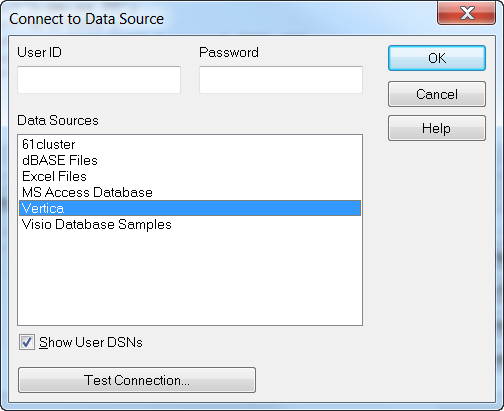
- Select the Show User DSNs checkbox.
- Click Test Connection. (Note that you entered the User ID and Password earlier when creating the data source.)
- When the Connection Test Succeeded message appears, click OK:
- From the Connect to Data Source dialog box, select the Vertica data source and click OK to display the Edit Script dialog box. Note that a new line appears, ODBC CONNECT TO Vertica:
Continue to the next section to edit the script.
Editing a Script
Create SELECT statements in the QlikView interface to query the Vertica database. QlikView adds the statements to a script that, when executed, queries and collects information from your Vertica database. You can then include this information in reports and charts in QlikView.
Follow these steps to create SELECT statements and add them to your script:
- From the QlikView Start Page, select Edit Script and click Select from the Edit Script dialog box:
- Select the desired tables and fields from the Create Select Statement dialog box. As you select the objects, click Add to add them to the Script.
Note You can select multiple objects by holding the Ctrl key and clicking the objects in the Create Select Statement dialog box. This results in a more efficient single SQL statement, as opposed to multiple individual statements.
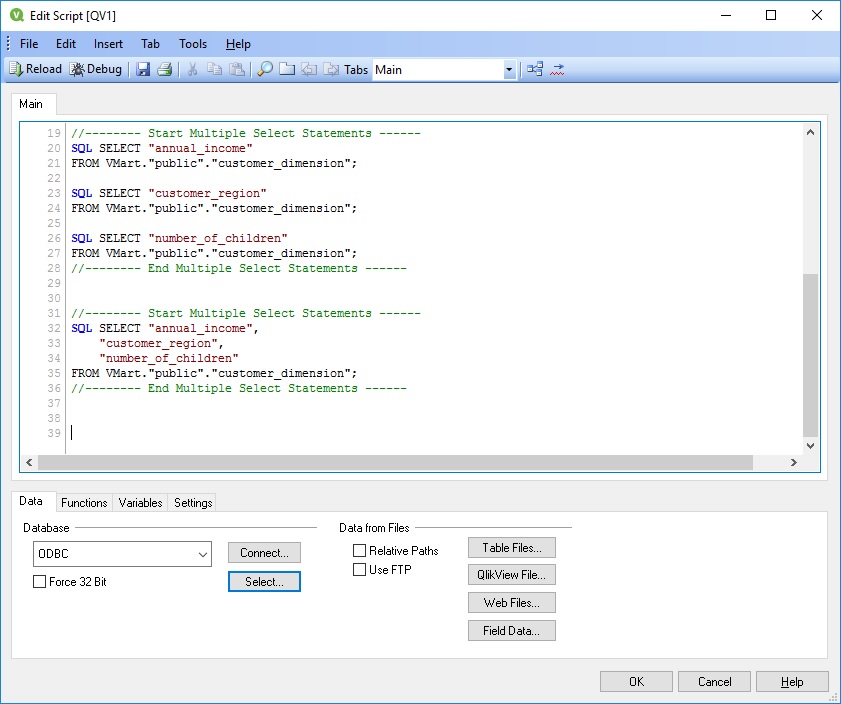
- Click OK to add the SELECT statements to the Edit Script dialog box.
- Click OK from the Edit Script dialog box. You can also manually edit the script from this dialog box. For more information, see the QlikView documentation.
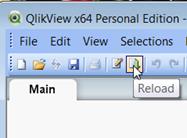
- Click Reload to execute the script:
If prompted, save the document, your script executes: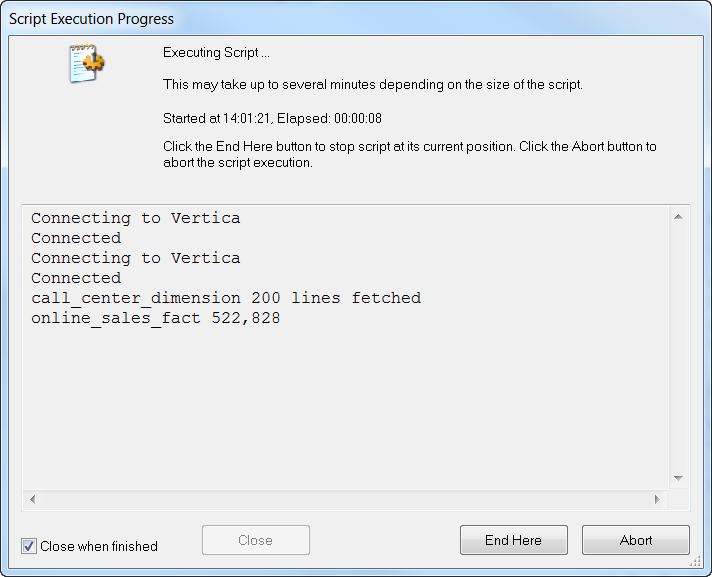
When your script successfully runs and fetches the rows from Vertica, you can start exploring QlikView's features.
If you are able to successfully run the script and fetch the rows you are connected to Vertica with QlikView, and you can start exploring QlikView's features.
If this is a test environment, we suggest reviewing the Vertica Quick Start for QlikView guide before proceeding. The document guides you through some of the same steps found here. Once installed, the supplied QlikView application has several dashboards pre-defined to display Vertica data and is a good way to explore how the two products can integrate.
Refer to the QlikView documentation for complete information on editing and executing scripts, and defining and displaying objects and charts within QlikView.
Known Limitations
The following data type inconsistencies were seen during our level 1 data type testing:
- CHAR, VARCHAR, and LONGVARCHAR values longer than 512 chars are visually truncated with "...". For example:
4096 character string"START4Kaaaaaaaaaaaaaaaaaaaaaaaaaaaaaaaaaaaaaaaaaaaaaaaaaaaaaaaaaaaaaaaaaaaaaa<repeating "a">aaaaaaaaaaaaaaaaaaaaaaaaaaaaaaaaaaaaaaaaaaaaa4KEND"
shows as 512 character string"START4Kaaaaaaaaaaaaaaaaaaaaaaaaaaaaaaaaaaaaaaaaaaaaaaaaaaaaaaaaaaaaaaaaaaaaaa<repeating "a">aaaaaaaaaaaaaaaaaaaaaaaaaaaaaaaaaaaaa..." -
CHAR, VARCHAR, and LONGVARCHAR field values longer than 32000 chars (256008 bytes) do not display in objects like Table boxes.
- Timetz and Timestamptz column values with milliseconds are truncated. For example:
14:30:45.999999+04shows as14:30:452012-11-27 05:30:45.999999-05shows as2012-11-27 05:30:45 - BINARY, VARBINARY, and LONG VARBINARY values show in vsql as octal, but in QlikView as hex. For example:
\377\000\000\000shows asFF000000

